 |
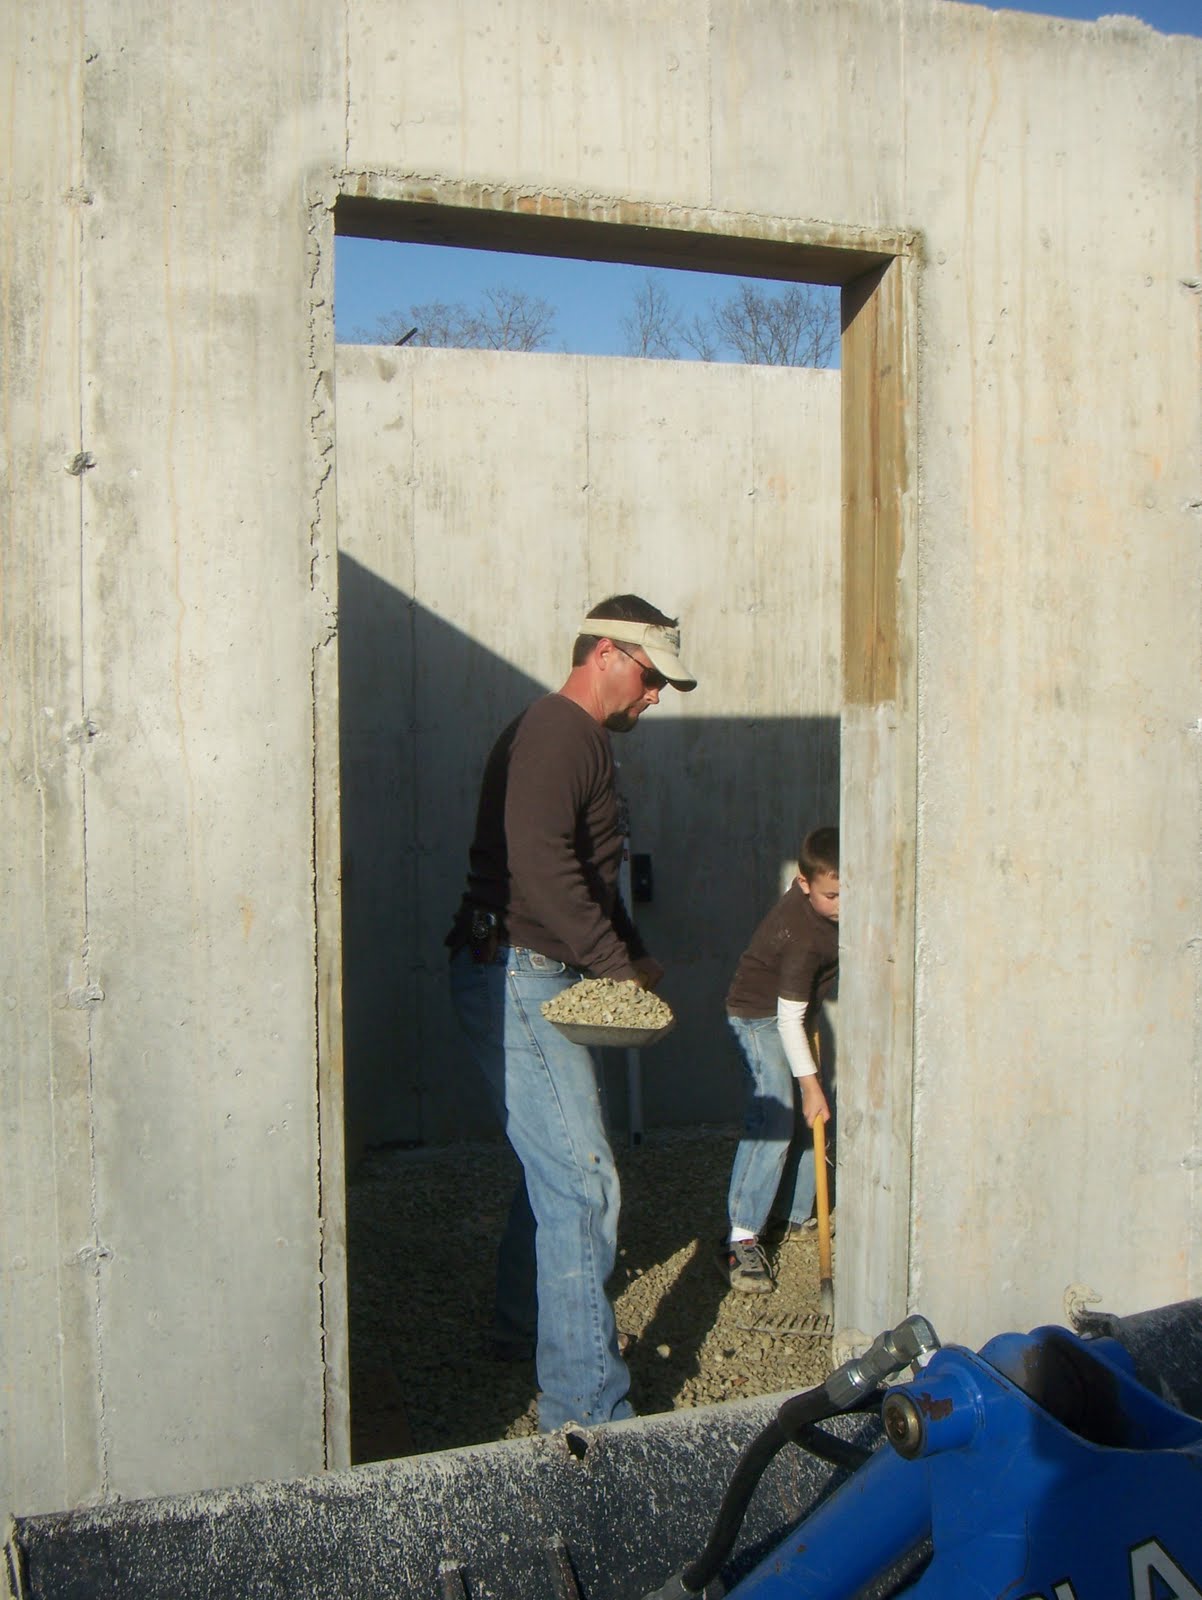
| {j and london shoveling gravel} |
 |
| {this is where i come in. the start of the radiant heat installation} |
 |
| not only did these foam boards have to meet up perfectly, but they had to be level. not an easy feat.} |
 |
| {the "after" picture. radiant heat was laid & set, ready for concrete!} |
If you're not familiar with radiant, the little red hoses have hot, hot water running through them, the warmth of the water heats your floors and in turn, heats your home, making your electric bill decrease by huge amounts. We also planned on using a hardy furnace {another "green" living choice}, so that our electric bill will be next to nothing. The great thing about hardy furnaces, is that it's not your parents wood stove. You fill it once a day with wood and it's good, it also uses less wood than other wood furnaces. J also made it to where if he is on a trip, and I'm home, I don't have to worry about filling it. If the fire goies out, and the house reaches a certain temp, the electric kicks on and takes over. Even then, we won't have to use the electric much at all, thanks to the radiant heat.
Okay, so as far as my experience in installing radiant heat, I will say that it's grueling work, but a great workout. ;) You have to be precise in your measurements {thank goodness J is}, and there is very little room for error. Preparation is key.
 |
| {concrete floors} |
J and I knew we wanted polished concrete on the floors in the basement. Besides being unbelievably beautiful, it was another "green" choice, because we weren't using any other materials. No extra materials. And, thanks to the radiant heat, the floor would be a comfy 70 degrees all year round! I do plan on a couple area rugs in the kids' rooms for comfort, but still, much less than carpeting the entire basement.


No comments:
Post a Comment